Customization of the keyboard, this pit is a constant tossing process. We can't afford the expensive keyboard, and we can still toss about other innovative things. Because of the pursuit of the directional keys and the small size of the keyboard, a group of 67 keys was assigned to the white fox last year. The feel is very satisfactory. Unfortunately, it was impossible to brush the list and the ugly border of horses that could be said by various people became the pain left in the heart. Oh, this is the following.
 The first truly "customized 67-key" mechanical keyboard and small-size keyboard talk about the mechanical keyboard, small-size keyboard is always a very powerful class of poisons, including 60% of the size of the mechanical keyboard keyboard is headed by Poker Known as the “key cap containerâ€, it becomes the first choice for drying expensive caps. At the time I first entered the keyboard pit, in view of the use of habits and work needs, and did not rashly start 60% of the small keyboard, the first to start the IKBCC104 cherry tea shaft, and then changed hands to the students to start with JAKIJB001 as whale_pond | Likes 21 Comments 102 Collection 102 see details
 Previously seen yang God's non-border gifted 40 mechanical keyboard, thinking that can not be achieved in 60 above the keyboard without borders, after all, human pursuit of the border is very strong, such as in recent years, a variety of "no border "Mobile phone.
 The Ultimate Pursuit of DIY - Extremely Light, Thin, and Very Small YD40w U-Wireless Mechanical Keyboard [Preface] Many people may have seen the DIY post of the 40% keyboard that I sent last year. The main principle part is already in that article. All of them are explained. Those who are interested can check it out. This time, I no longer spend my time on introducing principles. Simply put, it is to use Logitech's superior control to trigger the button, and then through the usb2usb keyboard converter to achieve full keyboard programming. Uber is also a 2.4G solution, compared to Bluetooth, it requires a usyangdigi | Like 77 Comments 68 Favorites 276 View Details
 The customizable 60% PCB on the market should be the most diverse. However, when it comes to independent arrow keys, you have to say XD60. It is because of the addition of xiudi's group. The protagonist of this post. Do not say much, go to the text.
Preparatory preparationFirst of all, to understand how the borderless implementation is achieved, the conventional sandwich shells on the market are as in my previous group 67. The PCB is fixed by the positioning plate and the shaft body, and the middle frame and the bottom plate are connected to the positioning plate. PCB Equivalent to overhead, this creates a border that can be run. In order to realize the borderless, in fact, the size of the positioning plate, the middle frame and the bottom plate is made to be as large as the PCB, and then it is stacked like a sandwich. At that time, the primary issue was how to fix it, because the PCB's fixing screw holes were not around the border. In communication with the group friend 0045-OMEN (“Special No.†for special acknowledgement), he modified the previous sandwich shell drawings to make full use of existing holes (including screw holes, satellite shaft holes) on the PCB. After many modifications, the drawings are as follows:
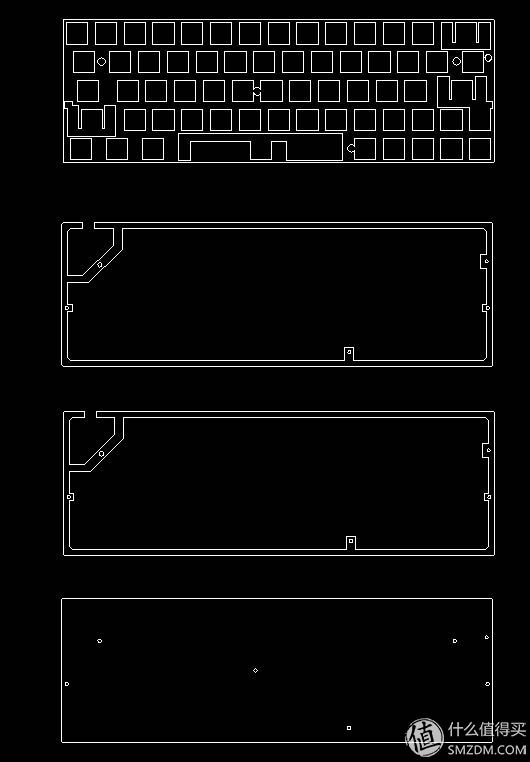 drawing
From the top to the bottom, the upper cover, the upper middle frame, the lower middle frame (transparent) and the bottom plate are respectively viewed. From the picture of the middle frame, one screw hole on the right and left is the corresponding hole on the PCB, and the hole on the right side is The hole of the 7-character carriage return satellite shaft and the upper left part of the USB opening, in order to strengthen the strength of the middle frame, cleverly set up the ribs to connect and pass through the PCB screw holes for fixing. In addition, the width of the middle frame is also adjusted according to the position of the components on the PCB, so as to ensure the narrowest under the strength. After the plan was finalized, the drawings were handed over to the Taobao shop for cutting. At this time, it was unclear whether the car would be overturned because the upper part of the middle frame was actually not fastened with any one screw.
Assembly process After a few days, the light strip, the cut housing and the PCB and other parts have arrived one after another. The following is the opening time:
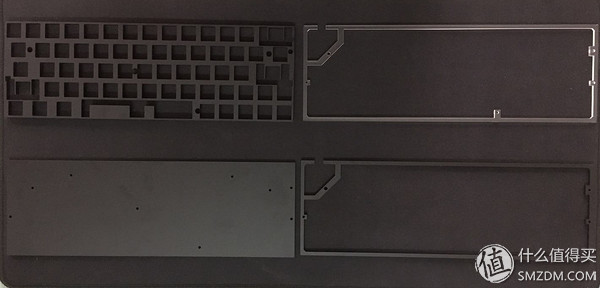
The outer shell of the hand, except for the light-transmitting middle frame, is made of black matte acrylic, and the texture work is not bad.
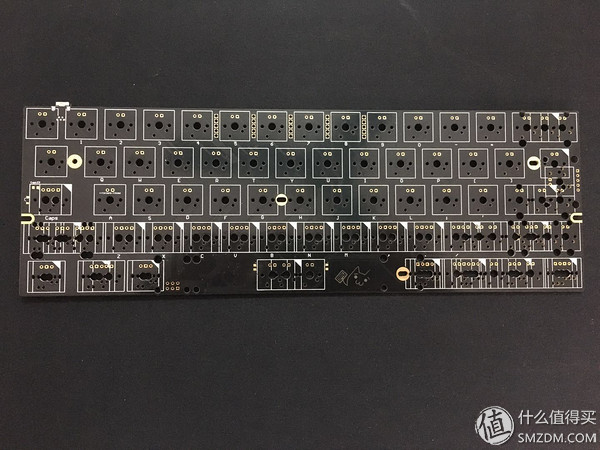
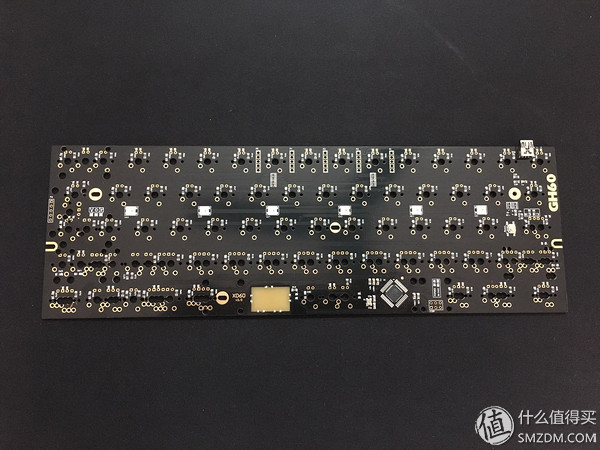
The XD60's PCB, how to change the version of the keyboard cat, this version is 2.0 improved version, the overall component layout is neat, using the very small parts, which is very beneficial to avoid interference.
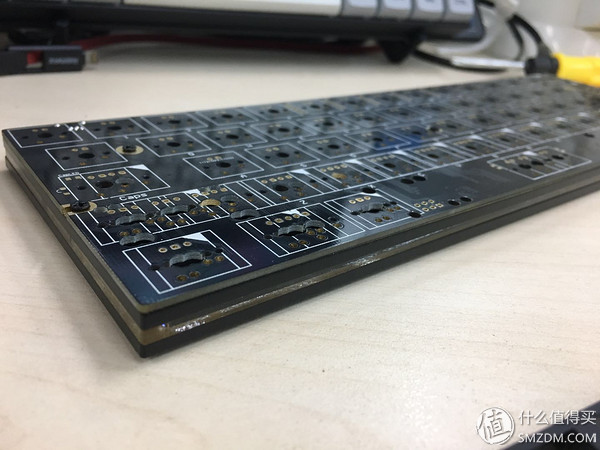
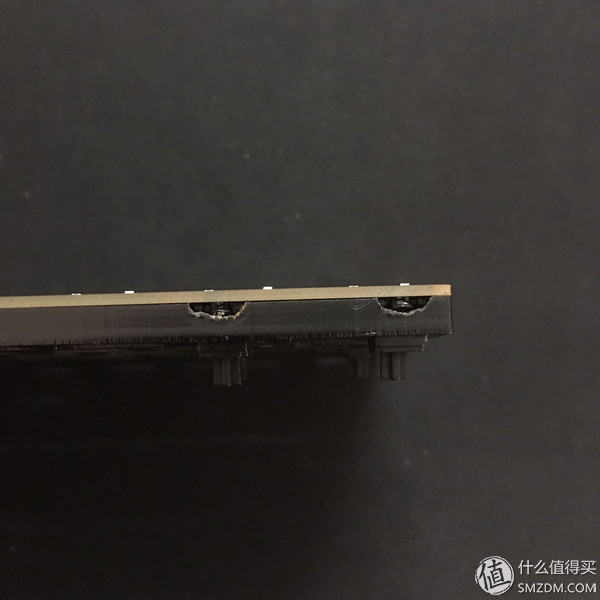
Try to use the screws to try the assembly effect. The size is still no problem. The strength is acceptable and the effect of the sandwich can be seen. The next step is to install the satellite shaft and weld the shaft body and the bottom lamp.


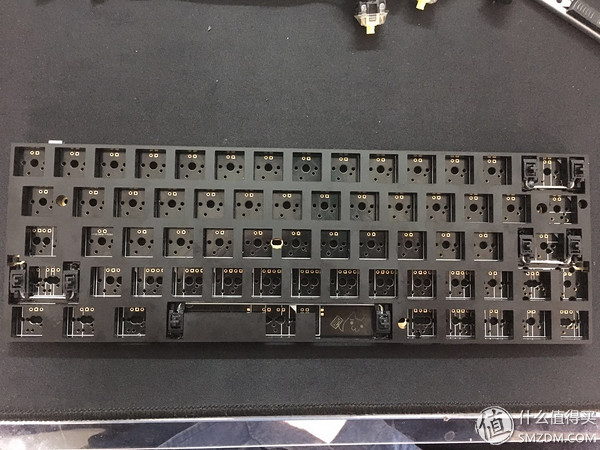
The satellite shaft is first tuned and greased to improve smooth feel and reduce wire noise. Since the PCB satellite shaft has a bayonet protruding below the PCB, the satellites of the space and the satellites of the backspace will interfere with the middle frame that clings to the bottom of the PCB. Therefore, the clip needs to be cut off. Cut off the satellite shaft seat).
The upper part of the buckle also interferes with the positioning plate which is close to the PCB. Therefore, only a soldering iron can be used to burn out a slot, and at the same time, it functions as a fixed satellite shaft (ugly point, follow-up remediation.)
Try to install the satellite shaft first, because the removal of the satellite shaft after the upper shaft is inconvenient. Therefore, before the upper shaft, it is necessary to confirm that the satellite shaft has no problem.
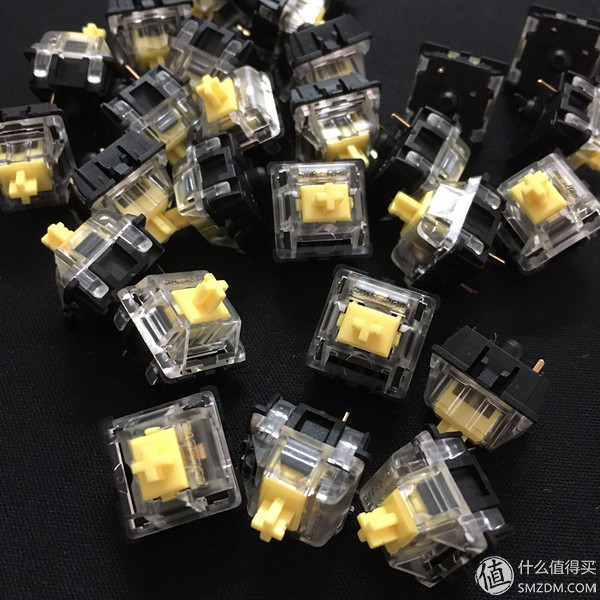
This is the use of the Gardacron yellow shaft, referred to as the G yellow shaft. Its characteristic is that the trigger pressure is between the black shaft and the red shaft, which is also a linear shaft. Because the G red is slightly lighter than the cherry red trigger pressure, the G is used. The yellow axis is relatively moderate to the relative pressure, and the 60g spring is replaced by a space to ensure its elasticity.

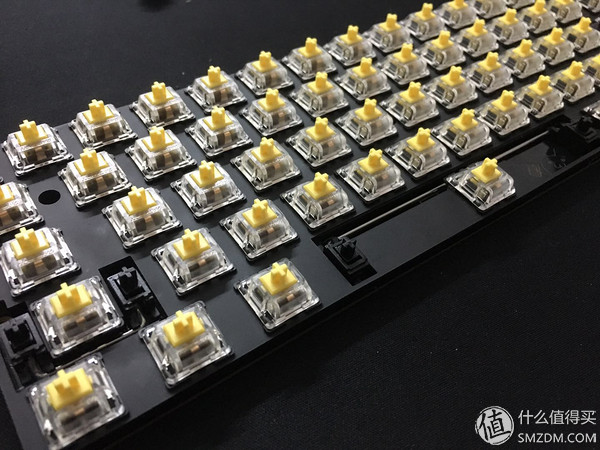
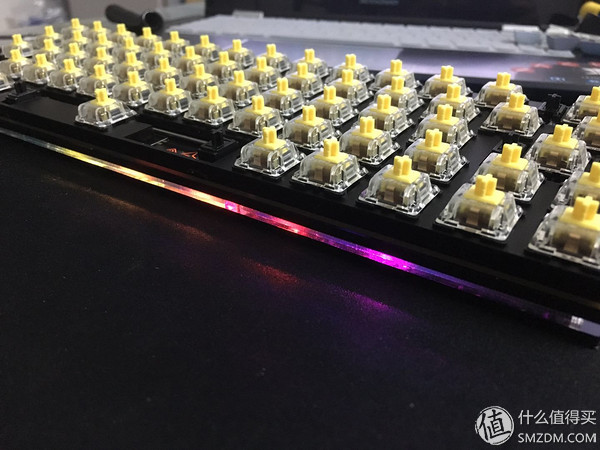
The next step is the conventional welding of the shaft body, the three-pin shaft used here, and because the XD60 supports the characteristics of multi-row arrangement and the size of the positioning holes of the positioning plate, the three-pin shaft is still easy to lick the shaft relative to the five-pin shaft, so it is recommended The keycaps can be adjusted prior to welding, otherwise they will need to be removed. In addition, the XD60 new version comes with 6 RGB bottom lights, and the light control can support up to 16 bottom lights, so add 5 RGB light strips up and down, model WS2812B, according to the direction of the arrow above the light strip, the VOG The three leads can be connected to the solder joints on the PCB.
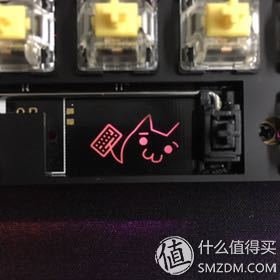
After the welding is completed, install the screws, brush the firmware, test the key position and the bottom light, and look at the keyboard cat that sells. It's all right.

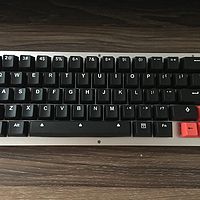
With the keycap attached, compared with the previous 67, the size is small and the visual effect of the boundless paragraph is really comfortable, especially the bare screws.
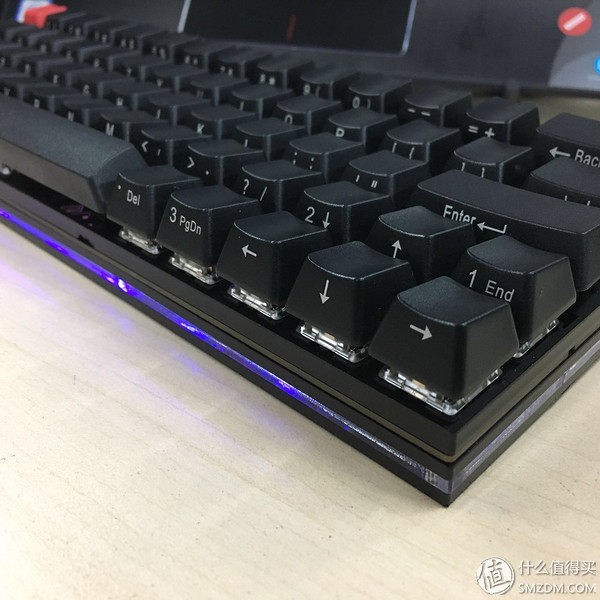
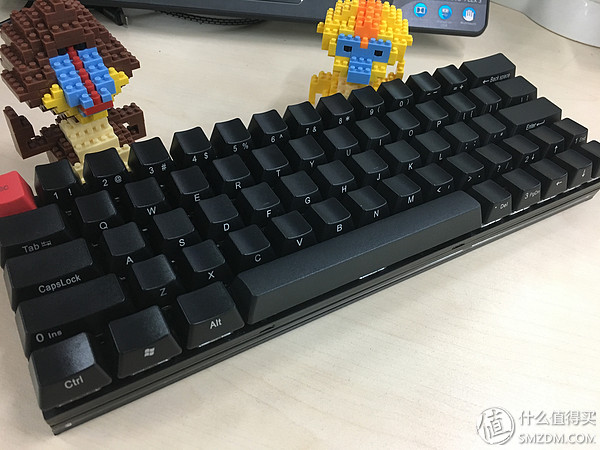
Put on a set of black side-engraved POM keycaps, with the overall black style, the keyboard height is about 15mm, and the pressure is not great without hands.
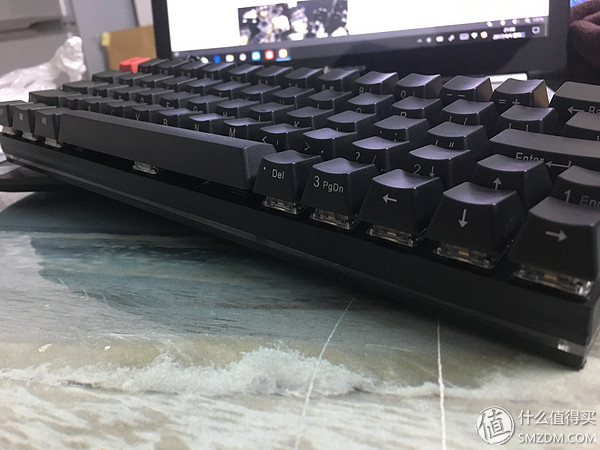
In order to solve the "broken state" caused by the positioning plate to the groove to the satellite shaft, a frosted sticker was used to paste the three layers above, forming a three-layer sandwich effect as a whole.
This tossing basically reached the expected goal, and the effect without borders is quite satisfactory, but there are several points that can be further improved:
There are many areas of interference, especially the problem of satellite shaft slots, which can increase the cost of using a groove to form a more beautiful fixed groove, or positioning plate to improve accuracy, the use of steel satellite shaft, but the cost will increase more;
The overall height of the keyboard can be further reduced, the middle section can use a separate 5mm transparent border;
The bottom plate processing drawing description error, originally should be the bottom surface frosted mirror, the results of doing the opposite, only the frosted stickers will be mirror attached to the mirror, but also led to the bottom light transmittance decline;
The fixing method adopts the m2 screw and nut, and the nut is located at the bottom, which affects the appearance. Further, the machining of the counterbore and the use of the copper post may be further considered. Previous back view

Toss endlessly, look forward to the next one, see you next time~
Nanning Nuoxin Technology Co., LTD , https://www.nx-vapes.com