The QT+OpenCV implementation of the video target tracking pre-research series on the 410c development board has introduced the selection of the target tracking algorithm in the first two blogs, and determined the use of particle filter as the video target tracking, and on the host computer. A simple test of the particle filter algorithm is carried out to verify the feasibility of using particle filter algorithm to achieve target tracking.
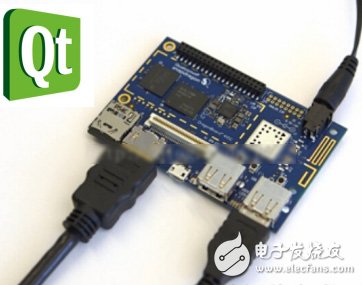
Figure 1 Dragonboard 410c development board
To achieve video target tracking on the Dragonboard 410c, we also need to complete the configuration and installation of our running environment on the Dragonboard 410c development board. Here we are using the Dragonboard 410c development board running Linux system. This section will further teach you how to The Dragonboard 410c is configured to configure the opencv and QT environments. The specific process is as follows:
First, QT environment installation and configurationQT mainly provides UI support for target tracking. The specific installation and configuration are as follows:
1) Download QT source package
Go to https://download.qt.io/archive/qt/5.4/5.4.0/single/ to download the source package qt-everywhere-opensource-src-5.4.0.tar.gz
2) Install arm-linux-gcc, arm-linux-g++
You can check whether ARM cross-compilation tool is installed on your computer by entering arm-linux-gcc. If it is not installed, you can install it. In ubuntu environment, you can use apt-get tool to install. The installation command is as follows:
Sudo apt-get install arm-linux-gcc
Sudo apt-get install arm-linxu-g++
3) Decompress the downloaded QT source package, enter the decompressed QT directory, and modify the related files. The specific operations are as follows:
Vim qtbase/mkspecs/linux-arm-gnueabi-g++/qmake.conf Amend as follows:
#
# qmake configuraTIon for building with arm-linux-g++
#
MAKEFILE_GENERATOR = UNIX
CONFIG += incremental
QMAKE_INCREMENTAL_STYLE = sublib
QT_QPA_DEFAULT_PLATFORM = linuxfb
QMAKE_CFLAGS_RELEASE += -O2 -march=armv7-a
QMAKE_CXXFLAGS_RELEASE += -O2 -march=armv7-a
Include(../common/linux.conf)
Include(../common/gcc-base-unix.conf)
Include(../common/g++-unix.conf)
# modificaTIons to g++.conf
QMAKE_CC = $PATH/arm-none-linux-gcc
QMAKE_CXX = $PATH/arm-none-linux-g++
QMAKE_LINK = $PATH/arm-none-linux-g++
QMAKE_LINK_SHLIB = $PATH/arm-none-linux-g++
# modificaTIons to linux.conf
QMAKE_AR = $PATH/arm-none-linux-ar cqs
QMAKE_OBJCOPY = $PATH/arm-none-linux-objcopy
QMAKE_NM = $PATH/arm-none-linux-nm -P
QMAKE_STRIP = $PATH/arm-none-linux-strip
Load(qt_config)
4) Run the ./config file to generate the Makefile for compiling. The specific command parameters are as follows:
./configure -prefix /usr/local/QtEmbedded-5.4.0-arm -confirm-license -opensource -release -make libs -xplatform linux-arm-g++ -opTImized-qmake -pch -qt-sql-sqlite -qt- Libjpeg -qt-libpng -qt-zlib -tslib -no-opengl -no-sse2 -no-openssl -no-nis -no-cups -no-glib -no-dbus -no-xcb -no-xcursor -no- Xfixes -no-xrandr -no-xrender -no-separate-debug-info -make examples -nomake tools -nomake tests -no-iconv -v
5) Execute the make command to compile
After compiling, copy ./preload/preloadable_libiconv.so to /lib on the DragonBoard 410c board and set the environment variable export LD_PRELOAD=/lib/preloadable_libiconv.so so that you can use the QT library on the Dragonboard 410c.
At this point you can use QT to write a small test program hellowordl, then cross-compile and download it to the Dragonboard 410c development board to run the test. The results of the test after transplantation are as shown in Figure 2 below:
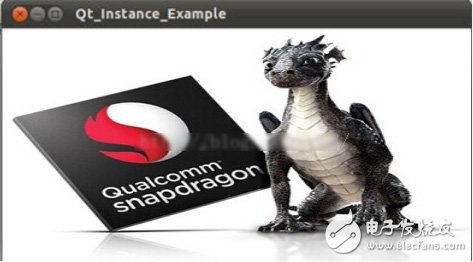
Figure 2 QT test demo running on Dragonboard 410c
3 in 1 Custom Usb Flash Drive Type-C 8G 16G 32G 64G. Easy to transmit data between Micro-USB, USB and Type-C port devices, such as macbook, Type-c smartphone and tablet, Android smartphone and tablet, computuer and laptop. No need any adaptors, sharing data conveniently and save time.

Black Type C Card Reader
This product is suitable for OTG-enabled Type-C interface phone. Easy to copy the memory card data to the phone, such as photos, video clips, office documents, etc. Support microSD, TF card. Can also be used directly to read U disk.

Type C Dual Port USB Flash Drive TF SD Card Reader
OTG supported. Read TF/SD card directly on your USB C , Micro USB OTG supported devices and other USB port device. Adding an memory card, turns your card reader into a U Flash Disk. Aluminum Shell.Slim,light and fashion design, portable and convenient for using. 3 in 1 : Compatible with USB C device,Micro USB OTG supported devices and USB port device.


OTG Functions Usb Type C 3.1 Flash Drive
Unique 3 in 1 Multifunctional Design: USB 3.1 Type C, USB Type A and Micro USB card reader.
Support OTG, allows you to transfer and share your content between new-generation Smartphones, tablets and laptops with USB Type-C ports.
USB 3.1 Type C Compatible: Connect your TF card with the latest USB-C devices.
Fully compatible with USB 2.0, the reader transfers files quickly and efficiently. Even bulky files like HD video will transfer within minutes.

We are a professional Chinese manufacturer of Usb Flash Drive , and looking forward to your cooperation!
3 in 1 Dual Port USB Flash Drive, Type C USB Flash Drive, 2017 Usb C Type Flash Drive, 8GB USB Flash Drive For MacBook Type-c Mobile Phone
Reteck Electronic Co., Ltd. , https://www.reteck.com